RGB LED and self-balancing Cube
- Dr. Tõnis

- Mar 3, 2025
- 2 min read
Updated: May 4, 2025
10.2024 – 02.2025 (5 months)
Description
Having seen two very attractive projects online I decided to follow the instructions and rebuild them.
Project summary
In this project I tried to follow the instructions to build an RGB LED and a self-balancing cube. The results were not as good as expected. Both cubes could benefit from additional software instructions. Nevertheless, what I built looks impressive.
My responsibilities
Modifying and printing the provided 3d files
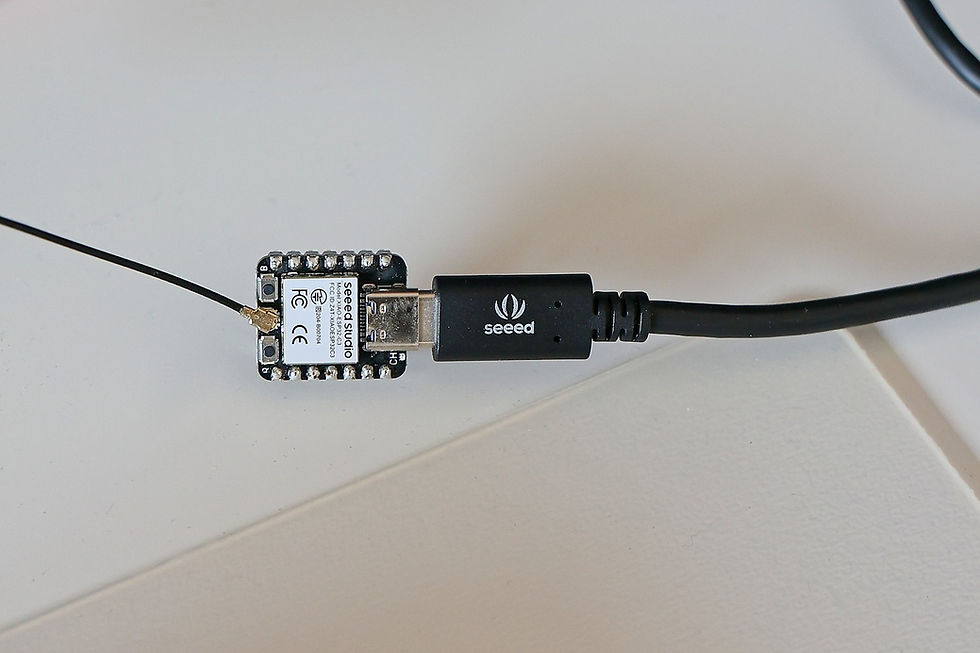
PCB design for the balancing cube
Modifying and debugging the provided code
Results
First I built the RGB cube. The original design is with batteries, however I wanted to use a wired connection and therefore I added 7 DC-DC converters for each panel and the raspberry Pi. Since I needed a cable I had to modify the panel mounting elements. On the hardware side everything worked very well and the cube looked amazing. I was able to run each script for different functions separately. However, unfortunately I was not able to start the functions automatically at boot. I tried different approaches, nevertheless without any success. Thus, eventually I decided to give it up and leave the cube as it is.
The self-balancing cube required some hardware adjustments since I couldn’t find the original motor used in the instructions. My motor was working well, however the 3d printed balancing wheel was quite wobbly and that didn’t help with the balance. For simpler wiring I designed a PCB where I could connect all the necessary components. Again the hardware was working well, except the wobbly balancing wheels. I was able to balance the cube on one side, however not on a corner. Most probably one needs to adjust the control parameters. Nevertheless, I decided to cut the losses and leave it as it is.
For both cubes I designed a nice stand that I was able to 3d print with almost transparent material. The stand was a necessary component for a nice presentation.
These two projects show that I can handle the hardware well, however software skills have some potential to improve.
Original instructions:
Used tools
SW: Fusion 360, Arduino IDE, Python, EasyEDA
HW: 3d printer, Arduino, Raspberry Pi, RGB LEDs, DC-DC converter, Servo motor, soldering


Comments