Another Flap Display
- Dr. Tõnis

- Jun 8
- 2 min read
Description
This is definitely one of my longest private projects. Around 3 years ago I made one that had a lot of improvement possibilities. I took it as a challenge and in this project I tried to overcome the main issues I had with the previous one.
Project summary
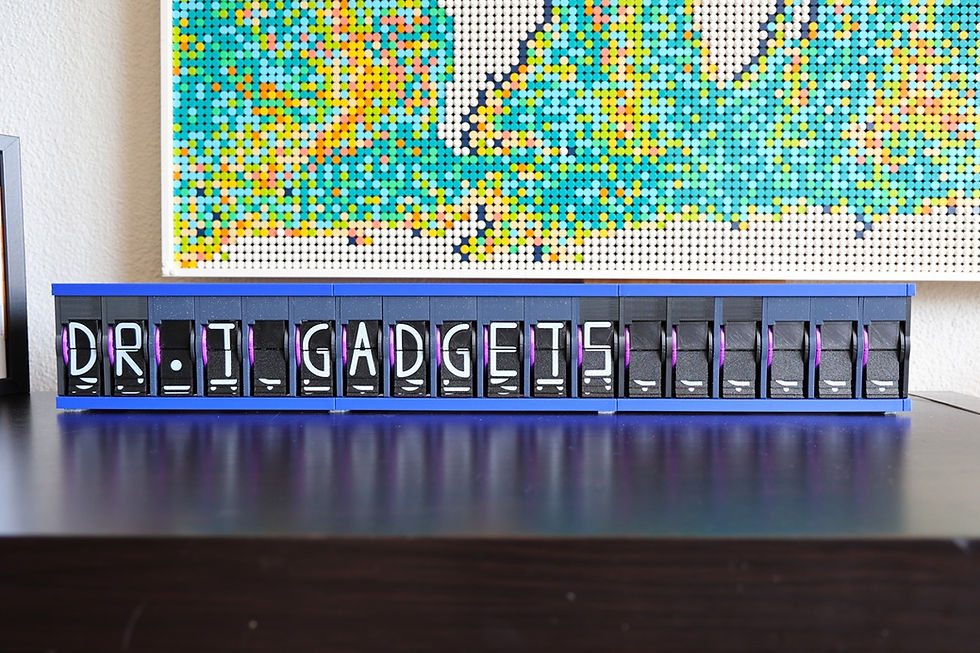
In this project I built a flap display that can show different symbols on limited digits.
My responsibilities
CAD design
3d printing and building the display
Programming and testing
Results
As this project was very long I was able to try out different things. The main issue with the previous design was the homing. To improve the robustness I reduced the number of digits to 32. That helped a lot, since a few degrees of rotation error doesn't mean a wrong digit. However, I had to compromise with the available letters and some of the letter designs are not as straightforward as I would like to have.
First I tried with the magnetic sensors, however due to the magnetic field of the motors the accuracy was not very good. Thus, after endless trials I switched to the optical switch. That works much more reliably. However not all the colors are working properly (transparency issue of the filament), that took me a while to realize.
The second very large issue was the flap manufacturing. I solved this by using two colored 3d printing. That made the flap production very simple and the results look much better than last time. I designed all the letters myself and as mentioned there are some improvement possibilities. Especially as one can see the previous flaps, making the reading a little unclear.
Otherwise, the wiring was a challenge and I had to redesign my PCB, since the PCB I made 3 years ago had some strange issues. The printing itself took ages, nevertheless that was not surprising.
In the end a nice project that I was able to finish. Thanks to Claude AI I was able to improve the SW and the controller now has a very easy to use Web application. That part is a really nice feature.
If I have to redo the display then it would be a relatively simple task now. The most time-consuming part is the printing itself. Assembly is very much simplified and I'm very happy with the project. As always some improvement possibilities stay.
Used tools
SW: Arduino IDE, Fusion 360, Claude AI, EasyEDA PCB design tool
HW: 3d printer, soldering, ESP32, stepper motors, optical switch, hall sensor.


Comments