Automated String Art
- Dr. Tõnis

- Oct 4, 2025
- 2 min read
Private
09.2023 – 10.2025 (24 months)
Description
A few years ago I made my first try with string art. The result had a lot of improvement potential and after seeing again a nice string art picture I thought to give another change.
Project summary
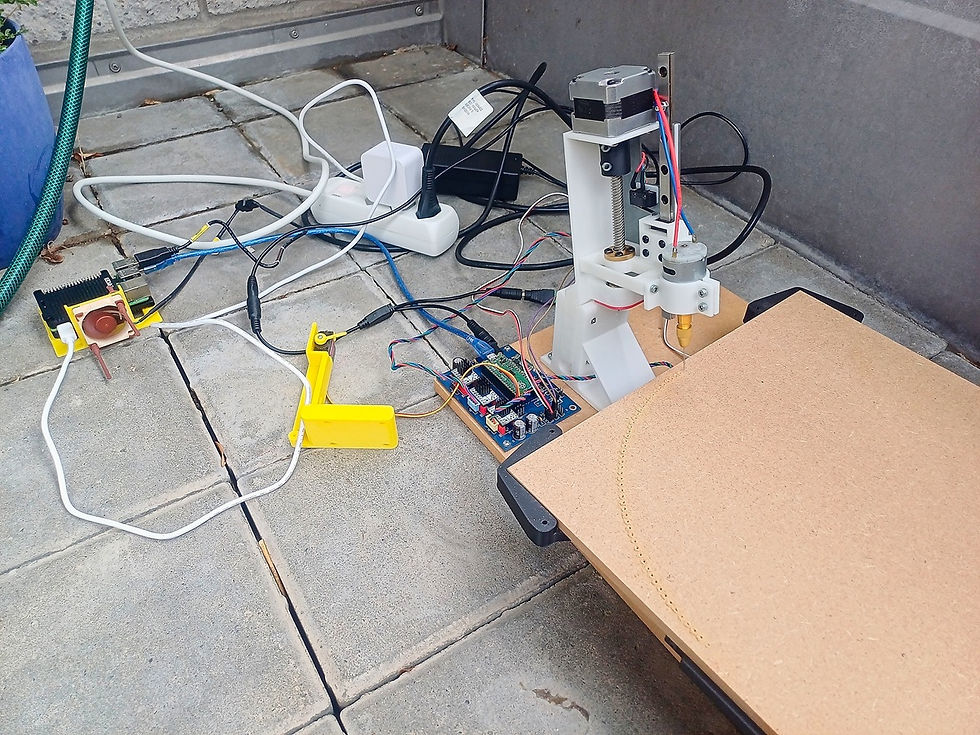
In this project I tried to build an automated string art device that could drill holes on the wooden plate and after changing the head should wrap the string around the nails. The result looked promising, however not as successful as hoped.
My responsibilities
CAD design
PCB design
3d printing and assembly
Programming and testing
Results
This project took a long time since I had several months of breaks. At the beginning of the project I made a plan how the device should work. I started with the CAD design and built the frame that rotates the wooden plate. This part worked well and I was happy with the result. Especially nice was the magnetic homing.
The next step about drilling the nail holes worked too. Nevertheless, the drill was slightly too weak and that made the whole process slower than wished. The most energy I spend on the string wrapping mechanism. I tried several different ways and eventually I found a way that worked reliably.
Despite having each piece working well the overall process was not a success since the 3d printed rotation system lost its precision very fast. After changing the gears the first drilled plate had evenly distributed holes, however the second one had already some deviation. In the end the string wrapping didn't work since the device lost its position.
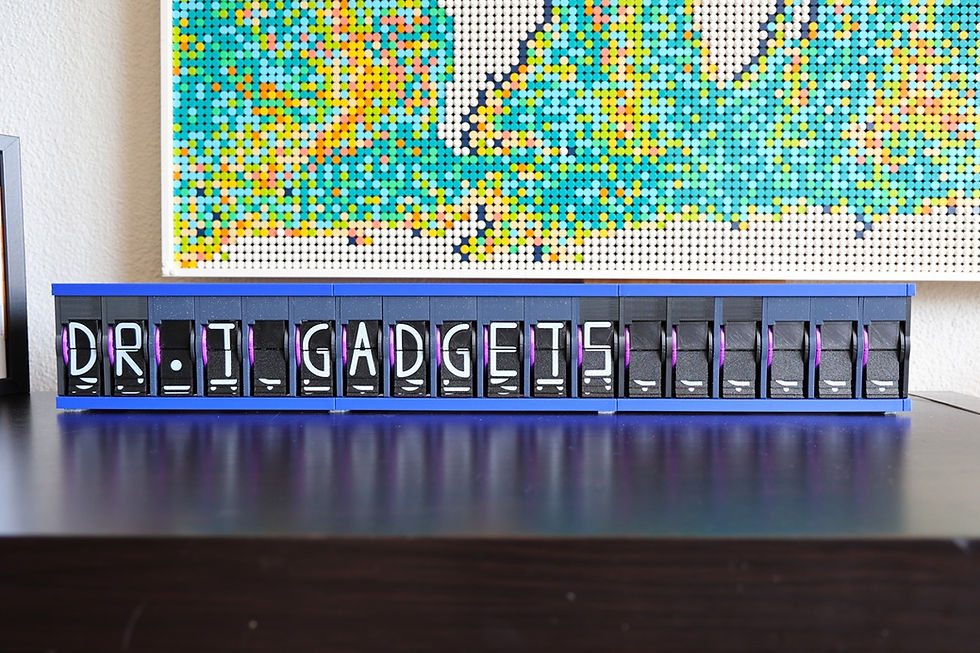
To overcome the issue I just wrapped manually the string around the nails and ended the project. It’s a pity since the result looks quite good and I would like to experiment more. Unfortunately the manual string wrapping is too energy consuming.
Here are some videos:
Used tools
SW: Arduino IDE, Python
HW: Stepper Motor, Servo motor, 3d printer, Raspberry Pico, Raspberry Pi, PCB, drilling


Comments